TL;DR — generated with AI
Built a private travel blog for a New Zealand campervan trip that needed to work on dodgy campsite WiFi while keeping family photos away from the public internet. Went with headless WordPress and React to get proper control over who saw what, added skeleton screens to handle slow connections, and made it bilingual because most of my family only speaks Spanish. Ended up with 30 blog posts, 500 images, 50 videos, and actual weekly engagement from family. Also accidentally built an open-source analytics plugin along the way.
Key tech decisions: Headless WordPress with custom REST APIs, React with Redux, JWT auth, role-based access control at the SQL level, server-side media processing with FFmpeg and ImageMagick, Leaflet.js for route tracking.
Back in 2018, I was about to set out on a campervan trip across New Zealand. I wanted a way to document and share the trip with my family and mates without plastering everything on the public internet.
Social media didn’t have the structure I needed, and standard blog platforms were either too public or required my non-technical relatives to jump through too many hoops. I couldn’t exactly ask my 70-year-old Nanna to figure out WordPress user accounts.
I needed something private, bilingual (Spanish/English), and fast enough to load on questionable campsite WiFi. No apps, no manual account setup, minimal friction for older family members.
Also, full transparency here, I was looking for a project to hone my React skills. The timing was perfect: I had the motivation to learn something new and a genuine use case that mattered to me. Plus, I’m a bit precious about data privacy and prefer keeping things self-hosted when it’s reasonable to do so.
The actual problem: memory decay
The main issue wasn’t just privacy. It was “memory decay.” We were about to capture hundreds of photos and new experiences daily. If we didn’t transform that into a structured narrative as we went, we’d lose the context after a few weeks. A folder of 3,000 photos on a hard drive is useless if you can’t remember where they were taken or why they mattered six months later.
Beyond recording the trip, I wanted to share raw, intimate moments and family jokes with my parents without those same details being visible to my wider professional circle. Usually this means juggling platforms: sending low-res photos over WhatsApp to family, posting curated highlight reels on Instagram for friends, and keeping the technical travel logistics to myself.
This fragmentation felt messy. I wanted a central vault for the entire journey that was smart enough to show different content to different people.
Going headless
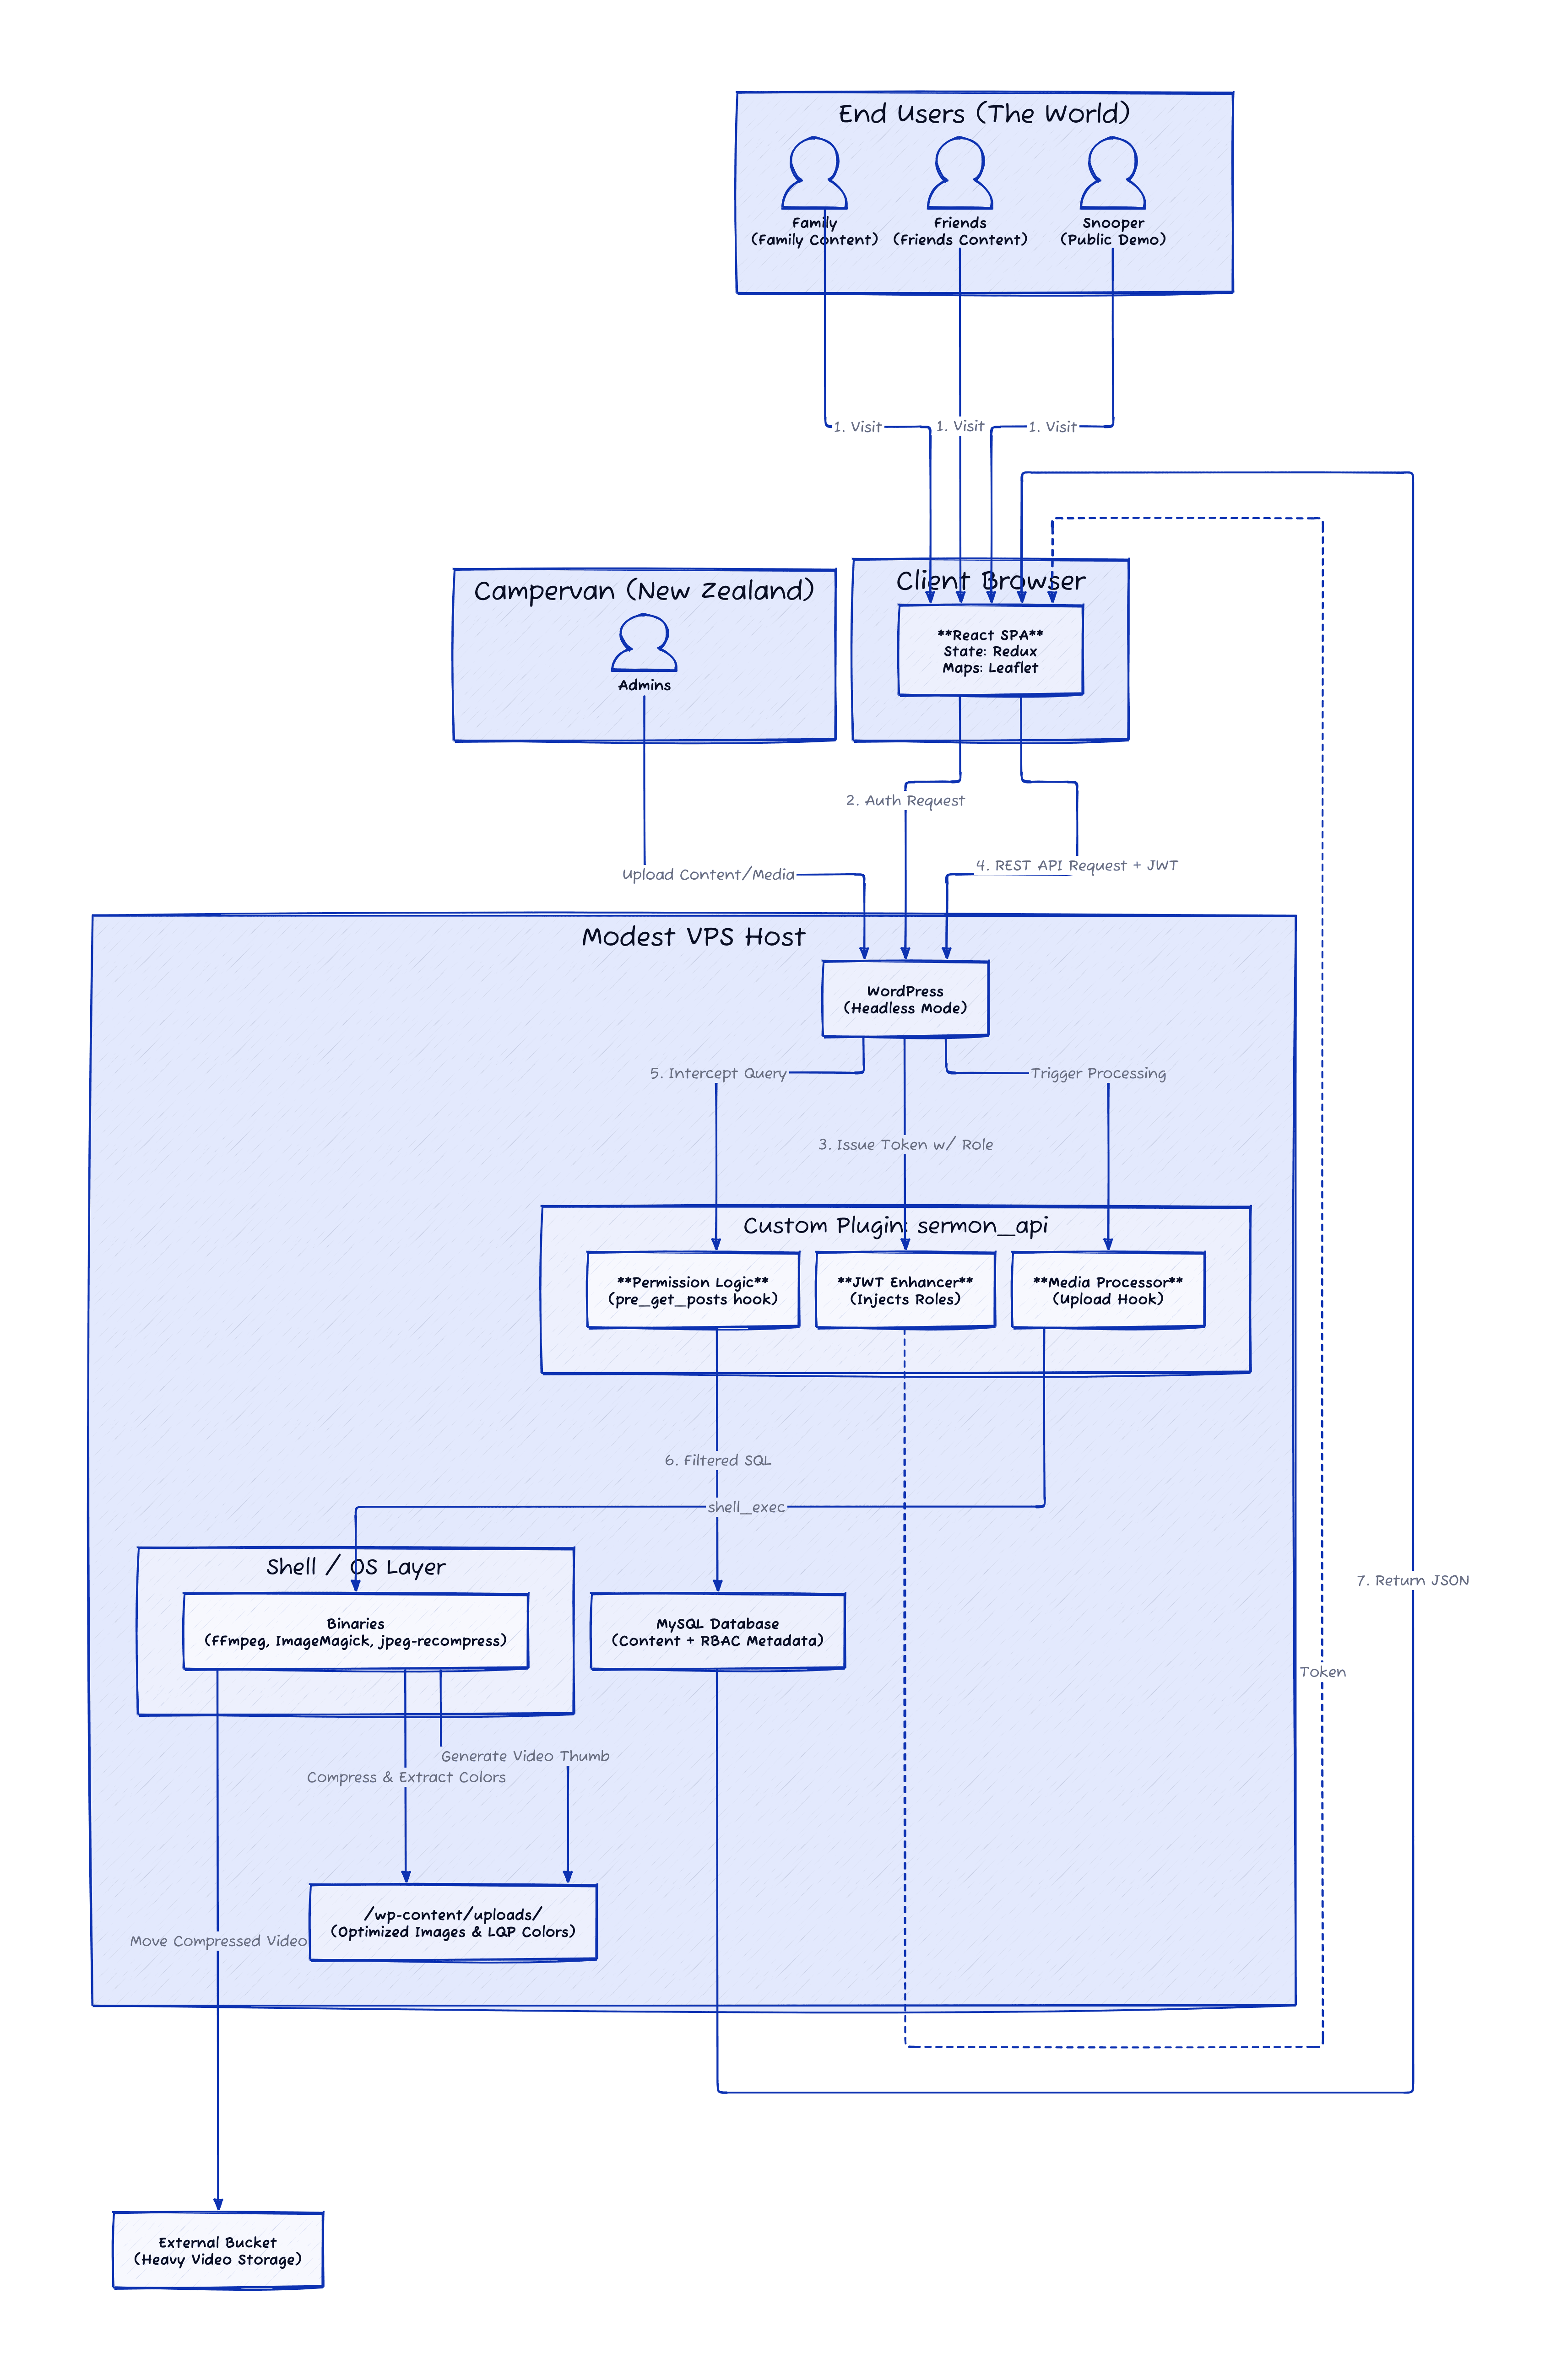
I went with headless WordPress on the backend and a custom React frontend.
The plan was to host this on a low-cost VPS with limited resources. I needed the frontend to feel snappy, but because every single visitor was a logged-in user receiving customised content, traditional full-page caching wasn’t going to cut it. On a standard WordPress setup, this would have resulted in a sluggish experience as the server struggled to render every page on the fly.
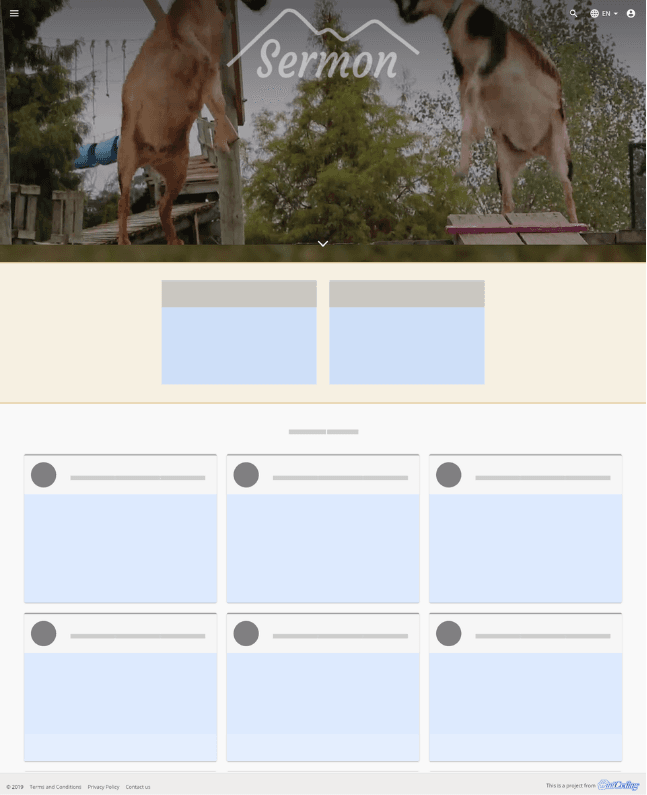
By decoupling the systems, I could cache the application shell locally in the browser and only fetch the specific data I needed via REST API. This let me take full advantage of skeleton loading. Instead of a loading blank screen, users saw the page structure immediately, which made the perceived performance significantly faster than a traditional site.
The reckless, care-free and younger version of myself was eager to learn React, while the sensible and cautious me was comfortable using WordPress for the CMS. I’ve used it for years, and it was a perfect fit for this project.
The stack:
- Frontend: React and Redux with skeleton loading to handle high-latency connections
- Backend: Headless WordPress with custom REST APIs
- Auth: JSON Web Tokens
- Maps: Leaflet.js for interactive route tracking

Family, friends, and snoopers
The main focus was documenting the trip and making it easy for my family to access everything.
Documenting was straightforward enough. Created a few custom post types, taxonomies, and modules, then went on my merry way. Nothing I haven’t done before.
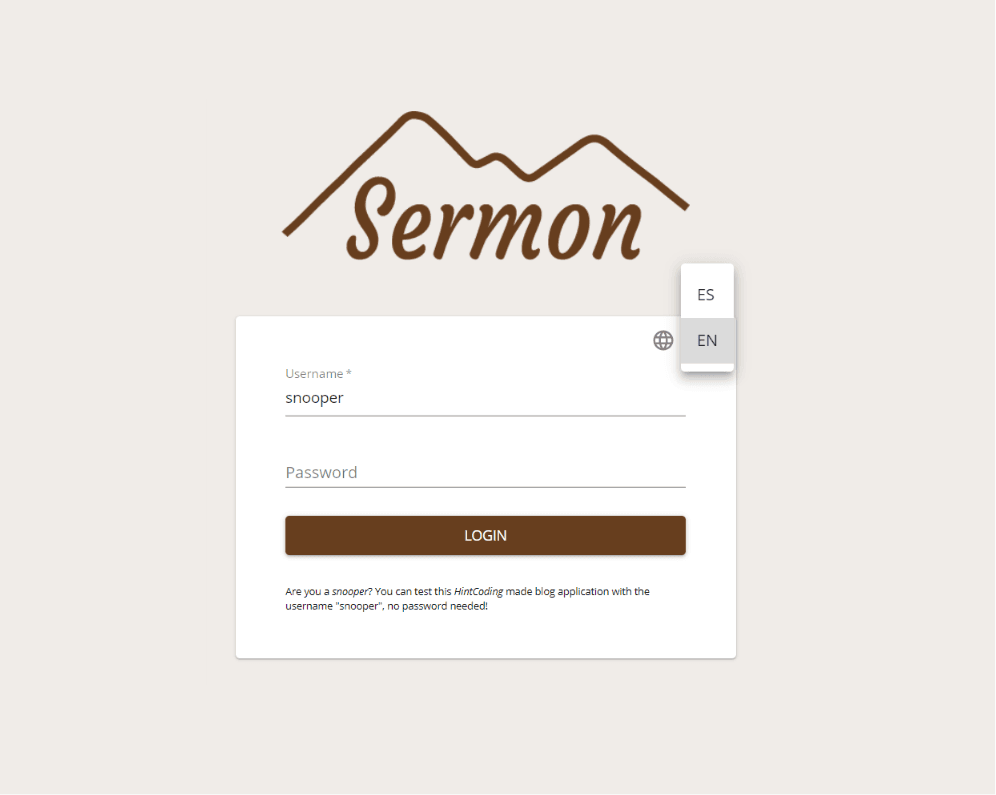
To remove friction for family, I created their accounts manually. On user creation, the system sent them a welcome email with credentials and a login link. No fussing around with registration forms or password resets, and top-notch customer service from the admin team.
This worked great for friends too.
The snooper mode
To let anyone curious about the project try it out, I made a demo account. Anyone can log in with the username snooper and check out the site with placeholder content. Sorry, no piña colada pictures for you!
Technical deep dive
Security at the SQL level
The core of the system is a custom plugin I wrote called sermon_api. It implements a granular role-based access control (RBAC) system.
I didn’t want to rely on filtering data in the frontend (insecure) or even in the PHP loop (inefficient). Instead, I hooked into the pre_get_posts action in WordPress.
// Simplification of the logicfunction pre_get_posts($query) { if (!$user_is_admin) { // Force a taxonomy query to only fetch posts // matching the user's permission group }}This intercepts the query before it hits the database. An unprivileged user literally cannot query private data. It doesn’t exist for them at the SQL level.
The poor man’s media pipeline
My VPS wasn’t exactly a powerhouse, and I couldn’t afford a fancy cloud media service to offload all the assets. Had to be resourceful.
I wrote a few PHP scripts that triggered on image and video uploads using FFmpeg and ImageMagick:
- Images: Apart from compressing on upload, the system extracted the dominant colour of every image to use on skeleton screens. This made the loading state feel coherent with the content that was about to appear.
- Videos: Compressed, thumbnails generated, and the final video uploaded to an external bucket with higher storage capacity.
I was tempted to use YouTube or Vimeo to make life easier. However, I wanted users to easily download the original copy of the video, and I wasn’t sold on hosting private videos on a third-party service.
State management (the 2018 way)
Used Redux for state management. This was before Redux Toolkit became standard, so the codebase has the classic (verbose) structure of separate actions, reducers, and types.
- User State: Stores the JWT token and permission profile
- Content State: Caches fetched blog posts to avoid re-fetching when navigating
- Loading State: Drives the skeleton screens
Bringing the journey to life
The true value of the system emerged once we were on the road.
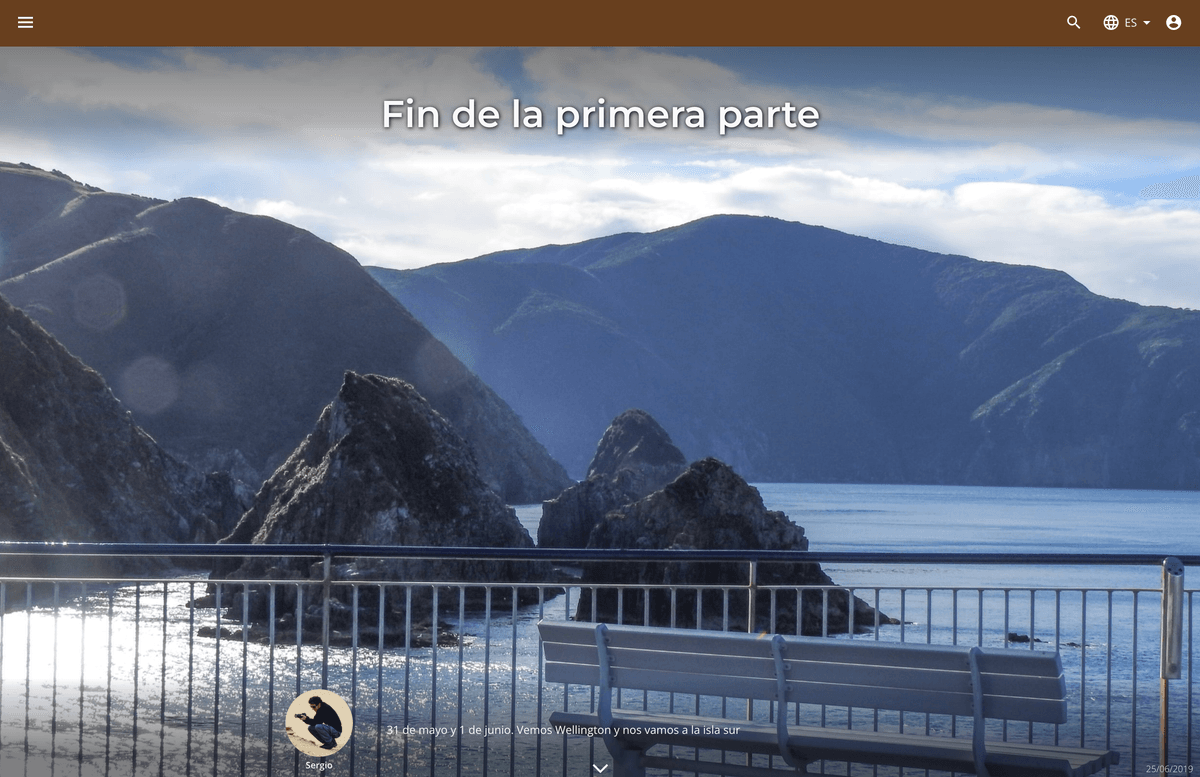
Language was the first major hurdle. Most of my family and friends speak only Spanish, so I couldn’t rely on autogenerated translations that miss the nuance of personal stories. WPML was excellent for providing a fully bilingual experience with the headless React setup. This required custom logic to sync post IDs and taxonomies across languages, but it meant the UI and content switched dynamically without a single page reload. English and Spanish users could even see different content at times, and this architecture gave me that granular control.
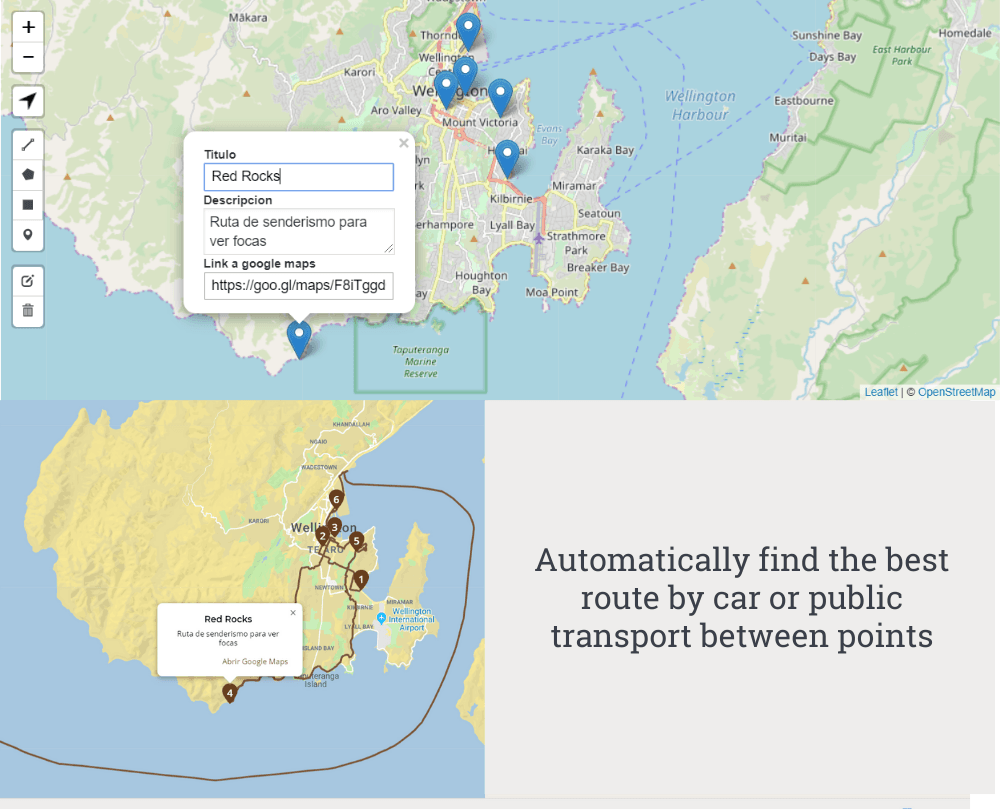
Because we were documenting a road trip, geographical context mattered as much as the photos themselves. I used Leaflet.js and OpenStreetMap to build an interactive map component that tracked our progress across New Zealand. Users could see exactly where we were when a specific post was written, which turned a simple blog into a visual travelogue. My family could follow our coordinates almost in real time, making them feel like part of the navigation team rather than passive observers.
The engagement stats validated the effort. Over the course of the trip, we published 30 blog posts with around 500 images and 50 videos. Most of my family and friends visited the site multiple times, and we got comments from about 10 different people. Some family members were checking the blog weekly, a few even daily. Turns out people actually will use a custom platform if you make it genuinely easier than the alternatives.
To track this engagement (and satisfy my own curiosity), I wrote and published an open-source plugin called Awesome Tracker. Used it to log how specific users interacted with the site in a simple, private way. It gave me the data I needed to confirm the platform was actually being used as intended, and it eventually became a standalone project I shared with the wider WordPress community.
Check out Awesome Tracker:
What I’d do differently today
It’s only after deploying and using an application in production that you truly learn its limitations and gotchas.
The main pain point was the maintenance burden of the codebase and plugin licensing. Having around 30 different plugins and libraries working together means updates will break things, and updates need to happen often. I’d question whether the number of dependencies was justified.
There was also an opportunity to manage secrets better. Not all secrets were properly encrypted and stored in a single secure place, which required manual work a few years later when I moved all my side projects into my Kubernetes cluster with HashiCorp Vault.
Some day I might revamp the project and move it to Next.js or Astro. I should definitely start planning my next trip around a country.
The highlight
The biggest win wasn’t a specific feature. It was building a full-stack, bilingual, secure platform from scratch in a language I was still learning.
It forced me to understand the “why” behind reactive programming. It validated that I could identify a problem, design a solution, and execute it in a way my beloved Nanna could actually use.
Plus, we now have a digital scrapbook of our New Zealand trip that’ll remain online until my pockets can’t pay for the hosting any more.